a
- In the previous post, we created a bucket, uploaded a file to the bucket, and read this file in the browser.
Create a web app to upload files/folders to my bucket
- In this post, we learn how to upload files, and folders through the browser by creating a web application, you can follow this repo: r2-uploader to create a website that allows uploading files and folders to your bucket in Cloudflare
Create a worker in localhost for development
- The repo above will guide create a worker in Cloudflare as the backend to receive the request from the browser. But it's inconvenient when we develop the website. Because it directly affects my bucket in Cloudflare, we need to build a worker in localhost as a virtual worker to develop.
Local development
Cloudflare Workers and most connected resources can be fully developed and tested locally - providing confidence that the applications you build locally will work the same way in production. This allows you to be more efficient and effective by providing a faster feedback loop and removing the need to test against remote resources. Local development runs against the same production runtime used by Cloudflare Workers, workerd
Read more: https://developers.cloudflare.com/workers/testing/local-development/
Use R2 from Workers
1. Create a new application with C3
C3 (create-cloudflare-cli) is a command-line tool designed to help you set up and deploy Workers & Pages applications to Cloudflare as fast as possible.
To get started, open a terminal window and run:
npm create cloudflare@latest- After running the command above, it will give some questions
- In which directory do you want to create your application?
- I type another name for my application (ex: worker-test)
- Do you want to use TypeScript?
- No
- Do you want to use git for version control?
- Yes
- Do you want to deploy your application?
- No
- In which directory do you want to create your application?
After done, we have a project, you can cd to the project and run it by the following command:
npx wrangler devThe result:
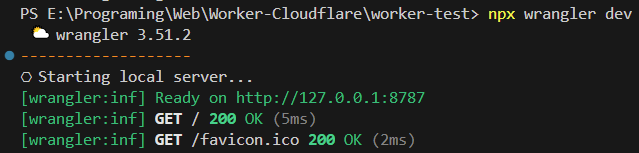
In the result like Image 1, When I open http://127.0.0.1:8787, the browser shows "Hello World"
2. Configuration wrangler.toml
Like the guide of repo https://github.com/jw-12138/r2-uploader, we will declare AUTH_KEY_SECRET and R2_BUCKET
#:schema node_modules/wrangler/config-schema.json
name = "worker-test"
main = "src/index.js"
compatibility_date = "2024-04-05"
compatibility_flags = ["nodejs_compat"]

# Variable bindings. These are arbitrary, plaintext strings (similar to environment variables)
# Docs:
# - https://developers.cloudflare.com/workers/wrangler/configuration/#environment-variables
# Note: Use secrets to store sensitive data.
# - https://developers.cloudflare.com/workers/configuration/secrets/
[vars]
AUTH_KEY_SECRET = "goNrLlSZMEwaw3W"

# Bind an R2 Bucket. Use R2 to store arbitrarily large blobs of data, such as files.
# Docs: https://developers.cloudflare.com/workers/wrangler/configuration/#r2-buckets
[[r2_buckets]]
binding = "R2_BUCKET"
bucket_name = "test"You look up [vars] and [[r2_buckets]] and set the value of them
Note: If you use VsCode to code, you can install this extension to view the nice format of toml file: https://marketplace.visualstudio.com/items?itemName=be5invis.toml
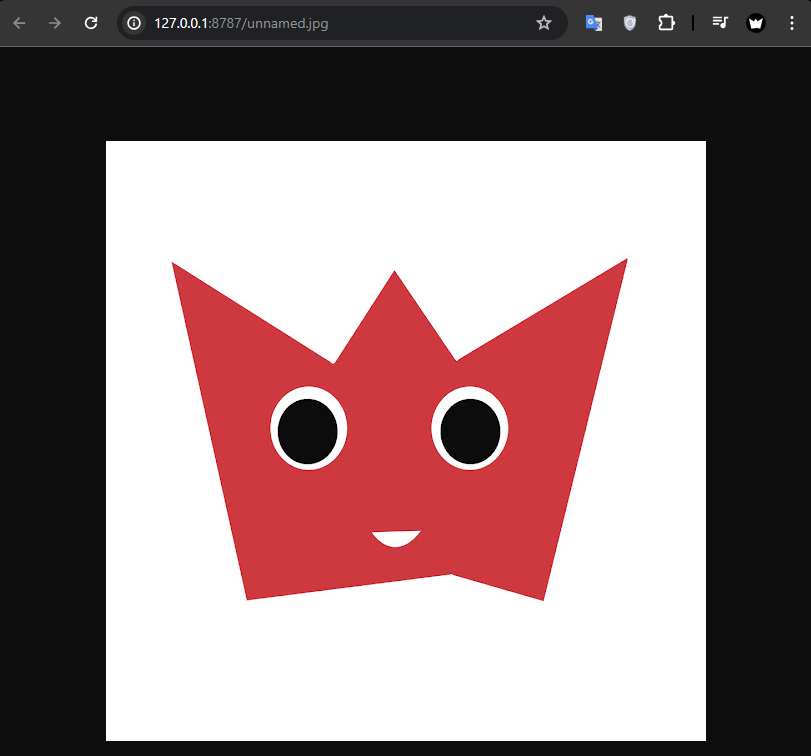
Done, you can set the localhost domain instead of the real domain of the worker to test. For example, I set 127.0.0.1:8787 in R2 Uploader, uploaded an image file, and read it in the browser like Image 2
References
https://developers.cloudflare.com/r2/api/workers/workers-api-usage/#4-bind-your-bucket-to-a-worker